If you use Zoom in your academic courses, you may want to take advantage of a new tool, added July 2020, that makes it easy to schedule and manage course Zoom sessions. These sessions can be for live classes or for course videos you create in Zoom.
If you record these Zoom sessions to the cloud, they will automatically copy to a course Panopto folder. Once in Panopto, the video will remain available to students for the duration of the course—and beyond, if you wish. Also, you can take advantage of Panopto’s many features for editing the video and playing it back.
Instructions below explain how to set up and use this new option in Moodle linking Zoom with Panopto. Basically, there are two steps:
- Add a Zoom link in your Moodle course. You will use this Zoom to schedule all Zoom sessions related to that course—synchronous course sessions as well as lessons created for viewing asynchronously.
- Add a Panopto link to your course. Students can view all Zoom recordings via the Panopto link. Of course, you can use this for other Panopto needs as well!
Moodle Zoom Link (LTI Pro)
We in IITS are calling this new tool a Moodle Zoom link. If you are looking for information about via the web, search on its more technical name, LTI Pro.
Step 1: Add the Moodle Zoom Link, if not already in your course
The Moodle Zoom link helps you and your students find and join course meetings. There is also a link to the recordings stored on the Zoom cloud. These recordings are also copied to your Panopto folder.
- Click on the course administration gear icon (
 ) dropdown and select Turn editing on.
- Add an Activity or a Resource in the section where you want the Zoom link. We suggest putting it in the top section of your course.
- Add the Zoom Video Conference activity and Add.
- Name your activity Zoom. Then Save and return to course.
Step 2: Set up Zoom sessions for your course
If you wish to use Zoom in your class for either a live synchronous class meeting, student meetings (aka “office hours”), videos for asynchronous use, or anything else, set up sessions using this new link.
- Click on your Moodle Zoom link.

- Schedule a New Meeting.
- Start the meeting when you are ready.
Note: Your students will see an option to Join the meeting here.
- (Optional) Record your Zoom meeting to the cloud.
If recording Zoom videos to the cloud…
Access them in Panopto
If you saved a Zoom session to the cloud, that recording will copy itself into your Panopto course folder. To access it, you will need to create a Panopto link to course—if you do not have one already.
- Click on the course administration gear icon () dropdown and select Turn editing on.
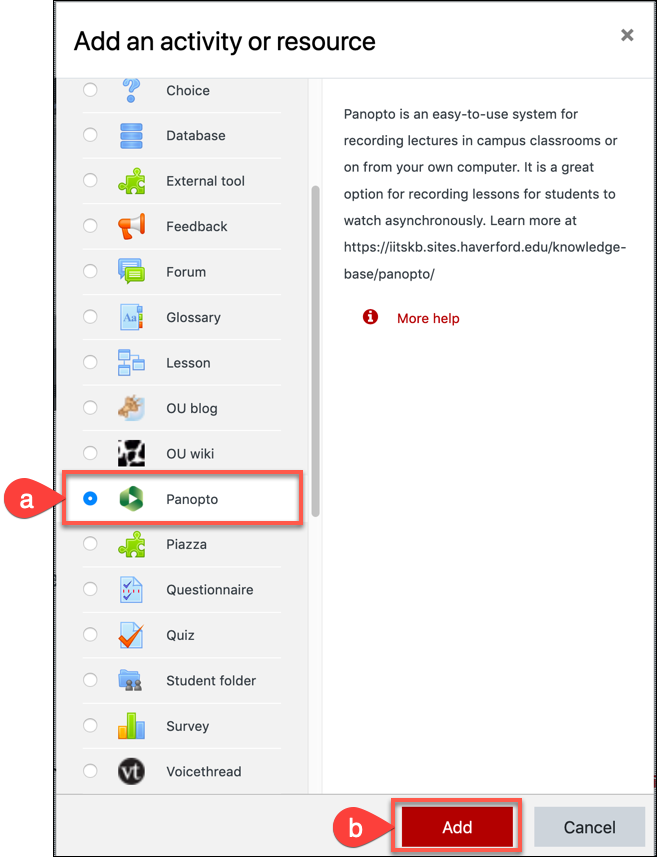
- Add an Activity or a Resource in the section where you want the Panopto link. We suggest putting it in the top section of your course, next to your Zoom link.
- Add the Panopto activity and Add.
- Name your activity as you want students to see it. Then Save and return to course.
Note: By default, Panopto will add a line in your course gradebook. You can uncheck the “accept grades from the tool” box to remove Panopto from your gradebook.
- When you click on your new Panopto link, you will see course Zoom sessions that were saved to the cloud. You can also use any other Panopto features to edit the Zoom recordings, record lectures in Haverford classrooms or anywhere, or upload videos.