Do you draw molecules? If so, you may like the new molecule drawing tool in Moodle. This tool is available for those using the TinyMCE editor. To try it out, follow the instructions here.
Make sure you are using the TinyMCE editor
There are a few different text editors available in Moodle. You need to select TinyMCE to use this molecule drawing tool. You can do that in your Moodle preferences.
- Click on your initials on the top right corner and select Preferences.
- Click on the Editor Preference link.
- Make sure you are using the TinyMCE Moodle editor as your default. You can chance this at any time, but you need to use the TinyMCE editor to use this chemical drawing tool.
Go to the hidden second line of TinyMCE toolbar icons
If you have selected TinyMCE as your default editor, you will see that editor anywhere you can add text blocks—item descriptions, Quiz questions and instructions, forum posts, etc. However, the chemical drawing tool is location on a hidden second row of toolbar icons. To find it, follow these steps.
- Click on […] (more) option at the end of the first row of the editor toolbar icons.
- Click on the
 icon (chemical substance) on the second row of icons on the TinyMCE toolbar.
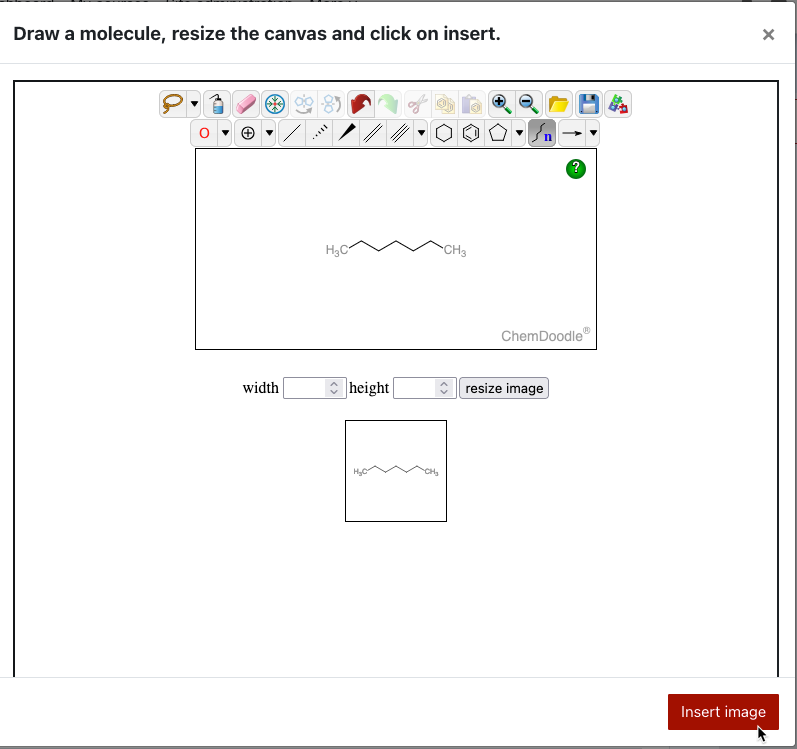
- A new toolbar will appear with icons for creating your molecular structure. Once you have created your structure, click the button to Insert image in your text and media area.
And alt text for accessibility
Once you have your molecular structure, there is one more step. You need to make the image accessible who cannot view the image for some reason (i.e. vision impairment, connection issues, etc.).
- Select the molecular structure you just created. A new toolbar will appear. Select the image option from that toolbar.
- You will see the text, “Chemdoodle PNG” in the box to describe the image for someone who cannot see it. Add a more descriptive description of the drawing you just made.
- If desired, adjust the image size or alignment.
- Save image.